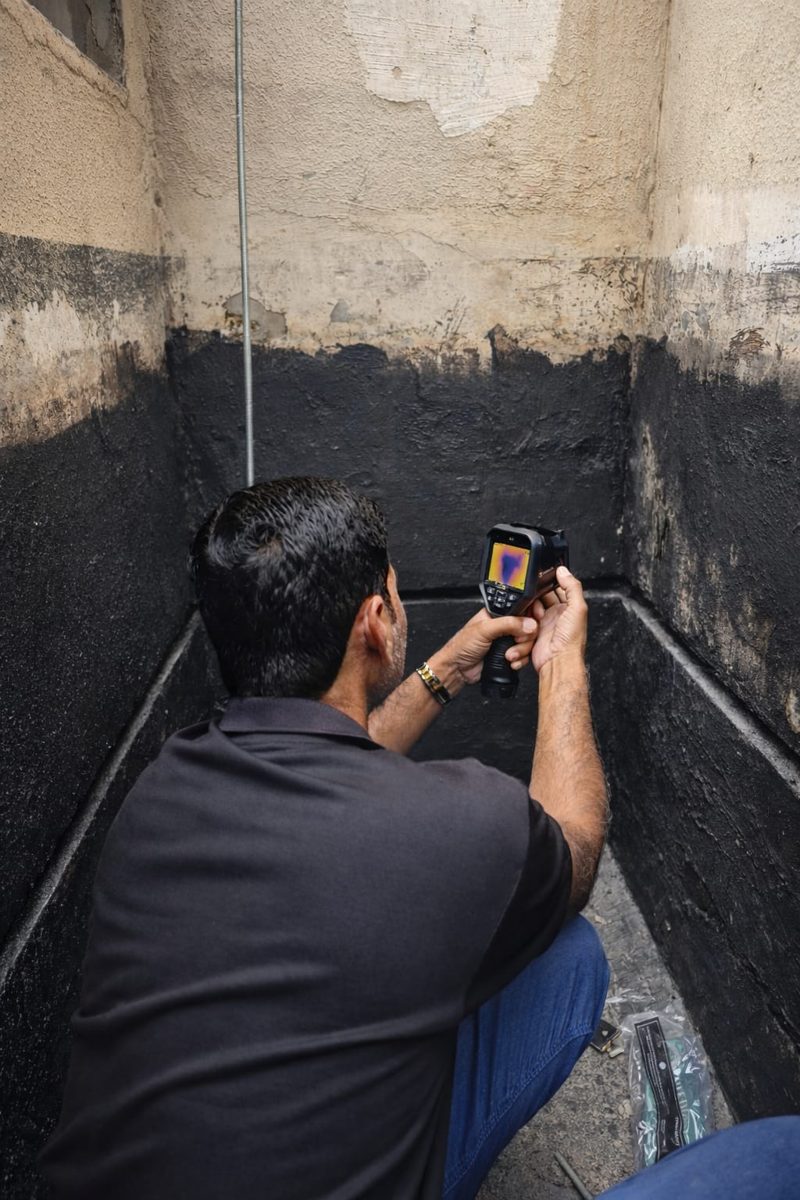
If water is leaking from your ceiling, control the immediate damage first: contain the drip, move belongings, and if water is near any light fitting, switch off that circuit at the distribution board. Then resist the urge to open the ceiling in the wet spot, because the entry point is usually somewhere else and random opening multiplies the repair.
The first hour: what to do
Put a container under the drip and protect furniture. If the ceiling is bulging, pierce the bulge with a screwdriver over a bucket, one small controlled hole, so the ceiling releases the water instead of collapsing. Switch off electrical circuits near the water. Photograph everything with timestamps, which matters later for your landlord, building management or insurer. If the flow is strong, close the apartment water inlet valve and see whether the flow slows over the next hour, which is itself diagnostic evidence.
Reading the leak before anyone opens anything
A leak that runs constantly regardless of usage points to a pressurised supply line or a tank above. A leak that appears after showers points to failed wet area tanking or a shower drain in the unit above. A leak that follows rain points to the roof or a facade detail. A leak below a bathroom that smells foul points to drainage. This pattern narrows the search before instruments even arrive, so note the timing honestly.
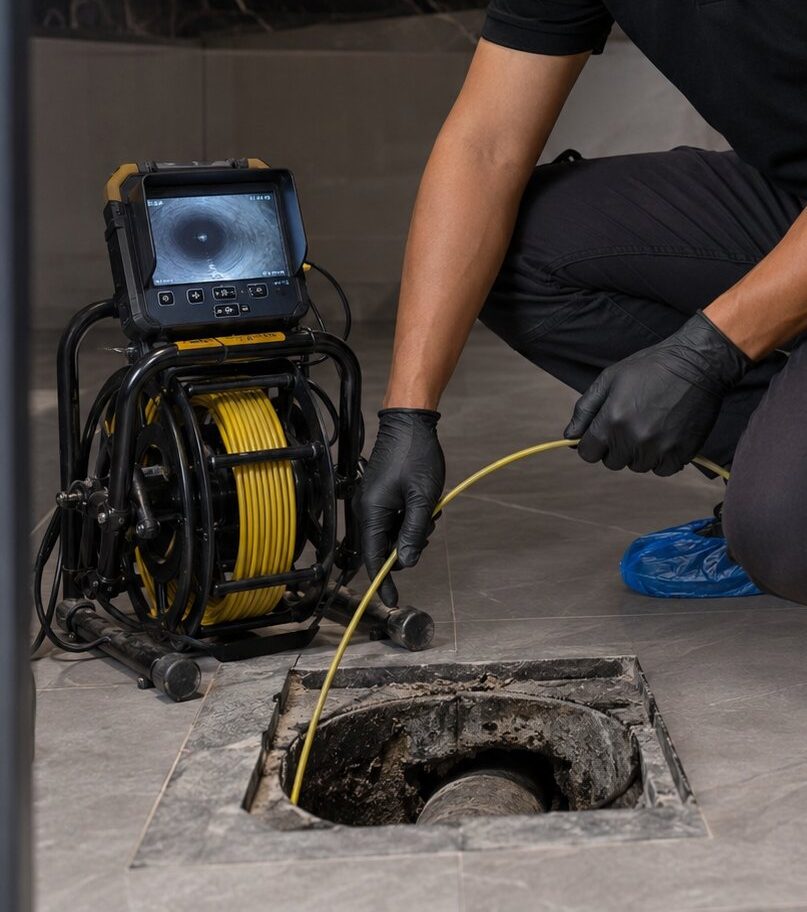
Why the wet patch is not the leak
Water runs along the top of the ceiling slab, along conduits and beams, and drops at the lowest convenient point, which can be metres from the entry. This is why thermal imaging and moisture mapping exist: the camera reads the wet path across the slab and traces it back to the true source, and the ceiling is opened once, at the right place. In apartment buildings the source is frequently in the unit above, and a signed investigation report is what gets building management and the upstairs owner to act.
After the source is fixed
The ceiling needs to dry fully before repair, which takes days, not hours. Then the damaged boards are cut out and replaced, skimmed, sealed with stain block and repainted to match. That restoration is the third pillar of our work, done under the same warranty as the detection and the fix, so one team owns the outcome from the first thermal image to the final coat of paint.